Mushrooms are usually cultivated indoors, but that’s not how it has to be. With some help you can easily how to grow mushrooms in your backyard because aren’t difficult to grow at home if you set up the proper environment. Unlike plants, which grow from seeds, mushrooms grow from microscopic spores that take root in a substrate. Read on for information on how to create ideal growing conditions, care for the growing mushrooms, and harvest them when they’re ready to eat.
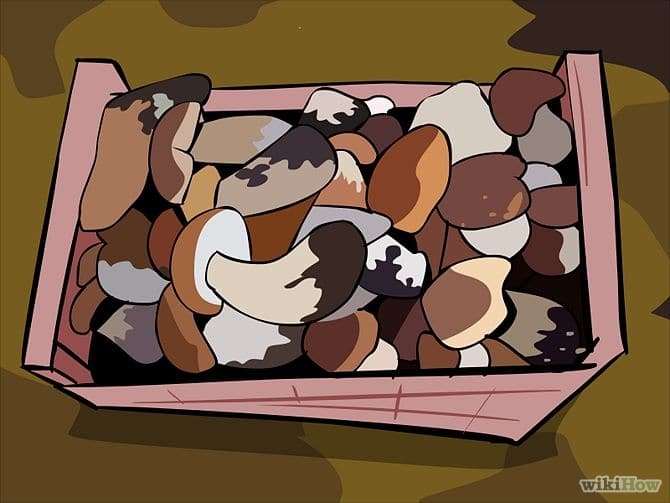
Part 1 of 4: Choosing Mushroom Spawn and Substrate
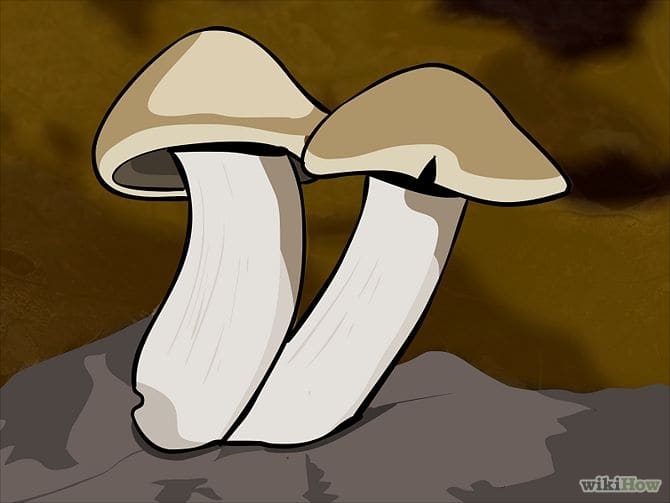
1. Decide what type of mushroom to grow. There are hundreds of types of edible mushrooms to choose from, and most of them can be grown in your home. Here are a few options to consider if this is your first time growing mushrooms. Once you get a feel for the process, advance to strains that that are more delicate and need an expert touch. When you’ve decided what type of mushroom to grow, purchase spawn (a mixture of mushroom spores and nutrients they need to thrive) online.
- White button mushrooms are hardy and produce plenty of “fruit.” They are a great addition to salads, soups and everyday meals.
- Oyster mushrooms have a mild, delicious flavor that makes them a popular ingredient in stir-fries and soups. Since oyster mushrooms are delicate, they aren’t frequently found in stores, which makes growing them at home all the more special.
- Shiitake mushrooms have a deep, smoky flavor, and their firm texture makes them a good substitute for meat.
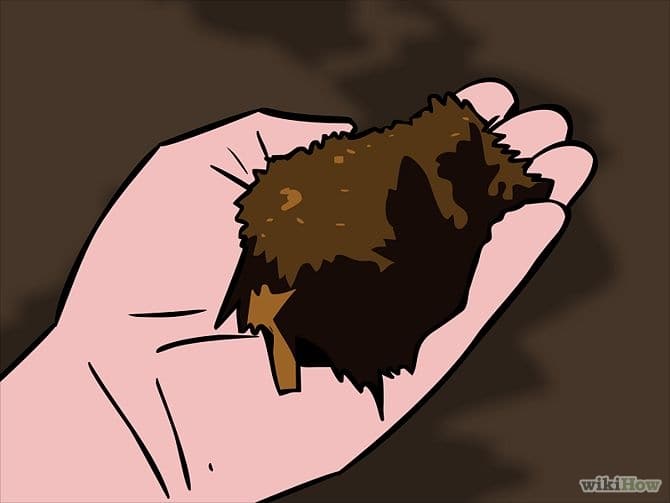
2. Source the right kind of substrate. To grow mushrooms, you will inoculate substrate with an injection of mushroom spawn. It’s important to make sure you have the right kind of substrate for the type of mushroom you want to grow. Mushrooms come from all regions of the world and require substrates that mimic outdoor growing conditions.
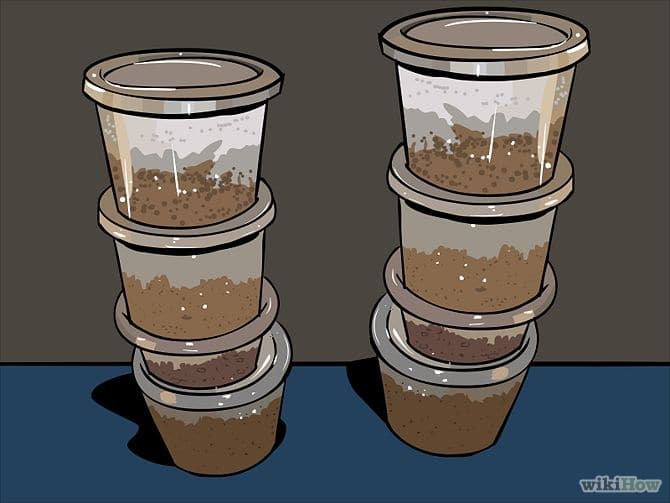
- Mushroom growing kits come with pre-mixed “grow bags,” which you inoculate with spawn through a small hole. The mushrooms grow directly in the bags, and you cut off the top of the bag to harvest them. This is a fine choice for a novice mushroom grower.
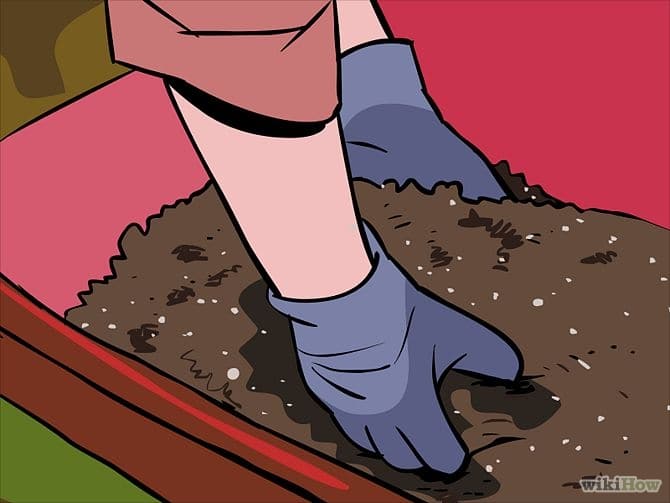
- If you want to grow mushrooms without the aid of a grow bag, buy a wooden tray about 6 inches (15.2 cm) deep and a few feet wide to fill with substrate according to the type of mushroom you are growing.
- White button mushrooms need composted manure substrate.
- Oyster mushrooms need straw substrate.
- Shiitakes, lion’s mane, and hen-of-the-woods mushrooms grow best on wood or sawdust substrate. You can also grow them on a log.
Part 2 of 4: Creating the Optimal Growing Environment
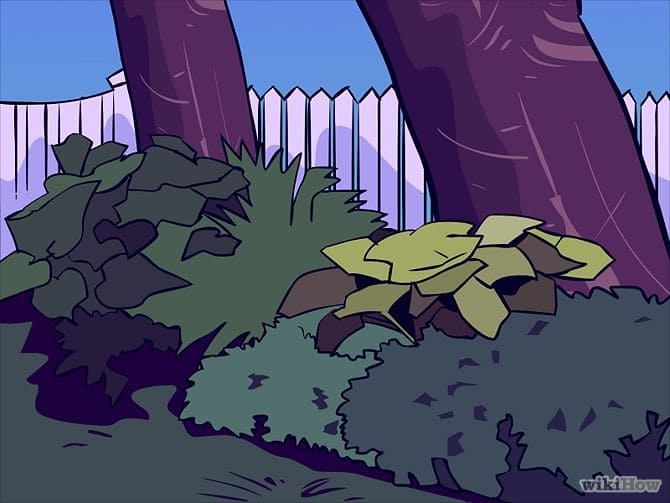
1. Find a dark, chilly place. If you’ve ever walked through a forest and stumbled on a patch of mushrooms, you know they tend to grow in the damp shade of tall trees. To grow them in in your home, you’ll need to recreate a forest-like environment with a temperature of between 55 and 60 degrees Fahrenheit.
- A dark basement is ideal, especially if you don’t keep yours heated. A dark closest could also be a good environment for mushrooms.
- If your house gets hot during the summer, consider growing mushrooms in the winter instead, to make sure the mushrooms don’t get overheated.

2. Create a humid environment. Mushrooms need a high air moisture level to thrive. If you live in a very dry region, you may want to buy a humidifier to make the air around the mushrooms more conducive to their growth.
- Dark, humid environments can lead to mold growth and attract insects. Your designated mushroom-growing spot should be a place in your home that you don’t mind temporarily converting into an outdoor-type environment.
- Different types of mushrooms require slightly different growing conditions. Research the type of mushroom you plan to grow to find out exactly how much humidity it needs.
Part 3 of 4: Inoculating the Substrate and Monitoring Mycelium Growth
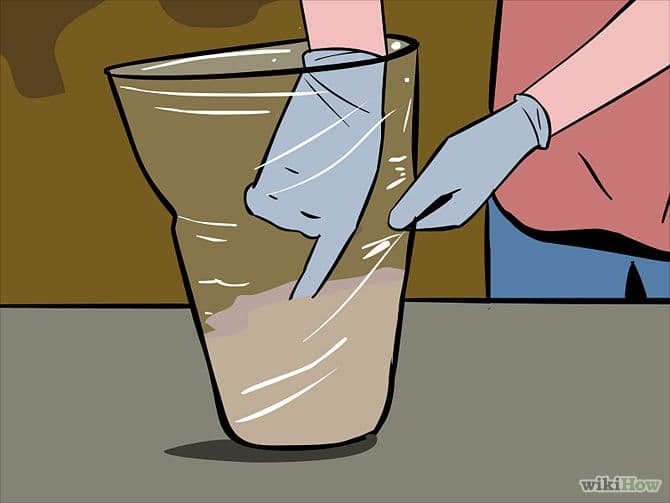
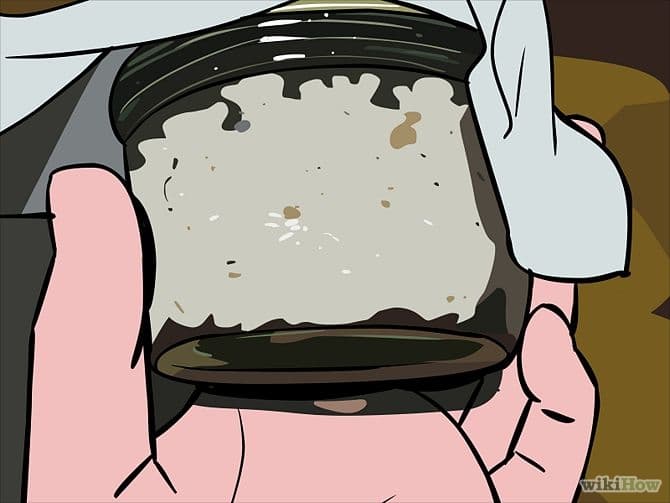
1. Inoculate the substrate with spawn. The spawn you ordered should have come in a plastic syringe. Remove the cover and inject the spawn into the substrate.
- If you’re using a mushroom kit with a grow bag, place the syringe needle into the small hole on the front of the bag. Inject the substrate into the bag with the syringe.
- If you’re using a tray filled with substrate, use the syringe to inject the substrate in several places.
2. Keep the substrate warm for two weeks. For the first stage of its growth, mushroom spawn must be kept at a temperature of about 70 °F (21 °C). This encourages the growth of mycelium, the white, feathery roots that will eventually produce mushrooms.
- If you’re growing the mushrooms in a cool place without controlled heating, you can use a heating pad to keep the substrate at the correct temperature.
- Don’t let the heat rise above 70 degrees, since higher temperatures can kill the spores.
3. When you see mycelium, drop the temperature. Once a good base of roots have formed, remove the heating pad or adjust the thermostat to 55–60 °F (13–16 °C). Keep the substrate at this cooler temperature for the remainder of the growing cycle.
4. Cover with an inch of soil or moss. When the delicate webbing of mycelium has formed, it’s important to protect it with a layer of soil or peat moss.
- Place a layer of newspaper or a thin cloth over the layer of soil or moss.
- If you’re using a grow bag, open up the top when you see good mycelium growth.

5. Keep the top layer moist. Use a spray bottle filled with water to spritz the cloth or newspaper layer with water several times daily. It should be kept moist for at least ten days.
- Don’t over water; the point is to create moist, damp conditions, but the growing environment should not be dripping wet.
- If you are using a grow bag, simply spritz the top layer of substrate in the grow bag with water every day to keep it moist.

6. After 10 days, remove the cloth or newspaper. Continue misting the soil or moss underneath twice daily until you see pinheads, or tiny mushrooms, begin to sprout.
Part 4 of 4: Harvesting the Mushrooms
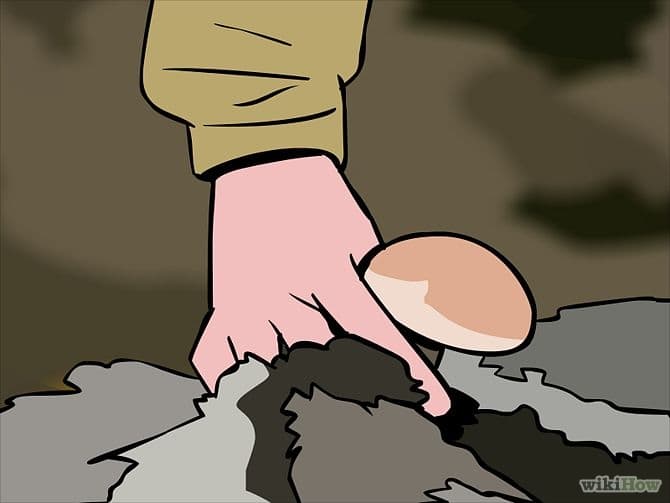
1. Pick the mushrooms when they have grown to full size. The pinheads will develop into full-sized mushrooms; pick them when they’ve reached the size you deem to be mature. You may eat them immediately or dry them for later use.
2. Continue harvesting mushrooms. After you pick the first fruiting, the mushrooms will fruit again. There are usually more mushrooms the second time. Pick these when they’re mature. The cycle will continue for three to four months until the supply has been exhausted.
Video:
Tips:
- Visit Shayana Shop for Magic Mushroom Growkits.
- There are kits available from some suppliers for growing moonlight mushrooms.
- These books provide great information on growing mushrooms:
- Manual of Mushroom Culture, by G. Raymond Rettew from Mushroom Supply Company
- The Mushroom Cultivator, by P.E. Stamets and J.S. Chilton
Warnings
- It is illegal in most countries to cultivate, transport, possess, or consume psilocybin mushrooms (magic mushrooms), and breaking any of these laws can get you major jail time.
Things You’ll Need
- Suitable growing space
- Mushroom spawn
- Substrate bed or grow bag
- Peat moss or soil
- Newspaper or a cloth
- Spray bottle full of water