
Choosing to grow marijuana at home can definitely be pretty intimidating for most people. Even with grow friendly laws and legislation, the undertaking of growing your own weed can be a bit overwhelming at first. But fear not prospective home growers- we have everything you need to know for the basics of at home growing.
From choosing which marijuana seeds are best for beginners and where to find them, to how to grow and when to harvest. No beginner should be concerning themselves with the expensive and technically difficult setups of hydroponics or aeroponics, so for simplicity’s sake we’ll just focus on good old fashioned dirt.
Where to Begin: Selecting Seeds
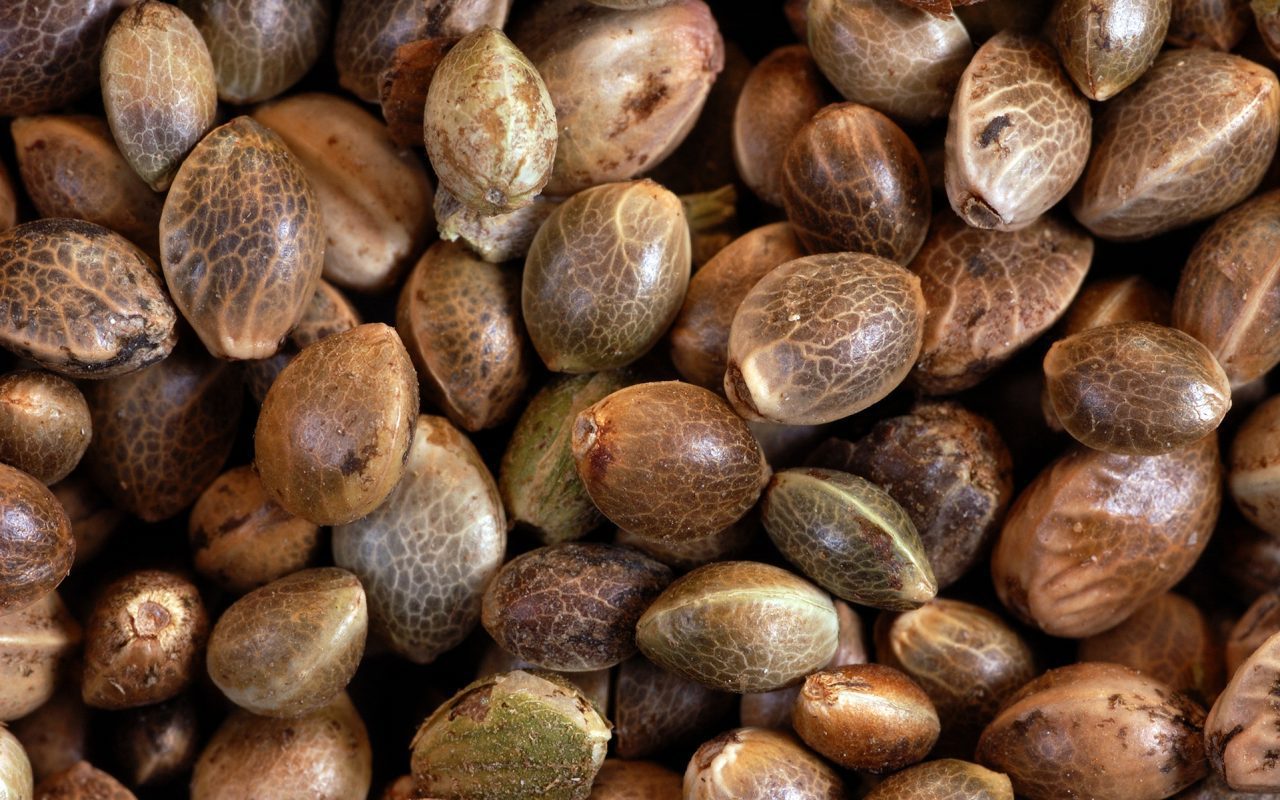
If you’re a novice in the growing department, or are short on space- feminized and autoflowering cannabis seeds will be your best friend. These are easy to snag online. Feminized seeds are generally a must for anyone who isn’t trying to breed their own strain. Feminized seeds ensure that any plant that will grow will be female- as it’s the females that produce consumable buds.
While autoflowering seeds aren’t necessarily a must, they’re a good idea for a beginner who wants to grow indoors. They are generally smaller than traditional marijuana plants and don’t depend on specific light cycles to flower (more on that later). Autoflowering, feminized seeds are essentially the “set it and forget it” version of in home marijuana cultivation.
Choosing strains is also something to be considerate of if you’re planning on growing indoors. Indicas, mostly known for their relaxing body highs, grow short, stout and compact. These strains are ideal for anyone who only has a small amount of grow space available. Sativas- the weed seed of choice for those looking for a more energetic and heady high- on the other hand grow extremely tall and leggy, but have a lower dried weight.
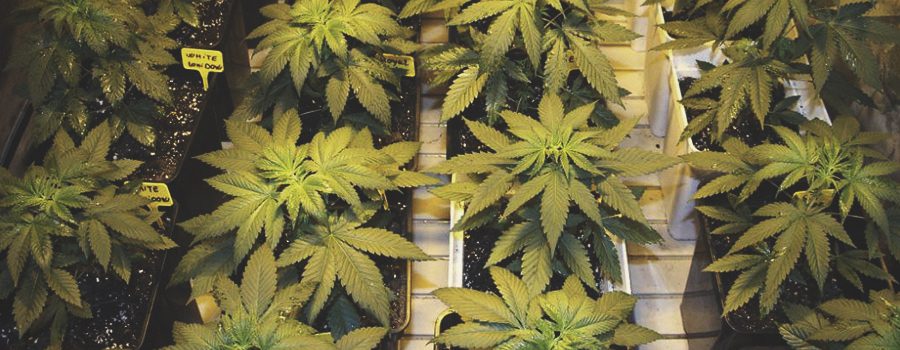
Germinating and Potting
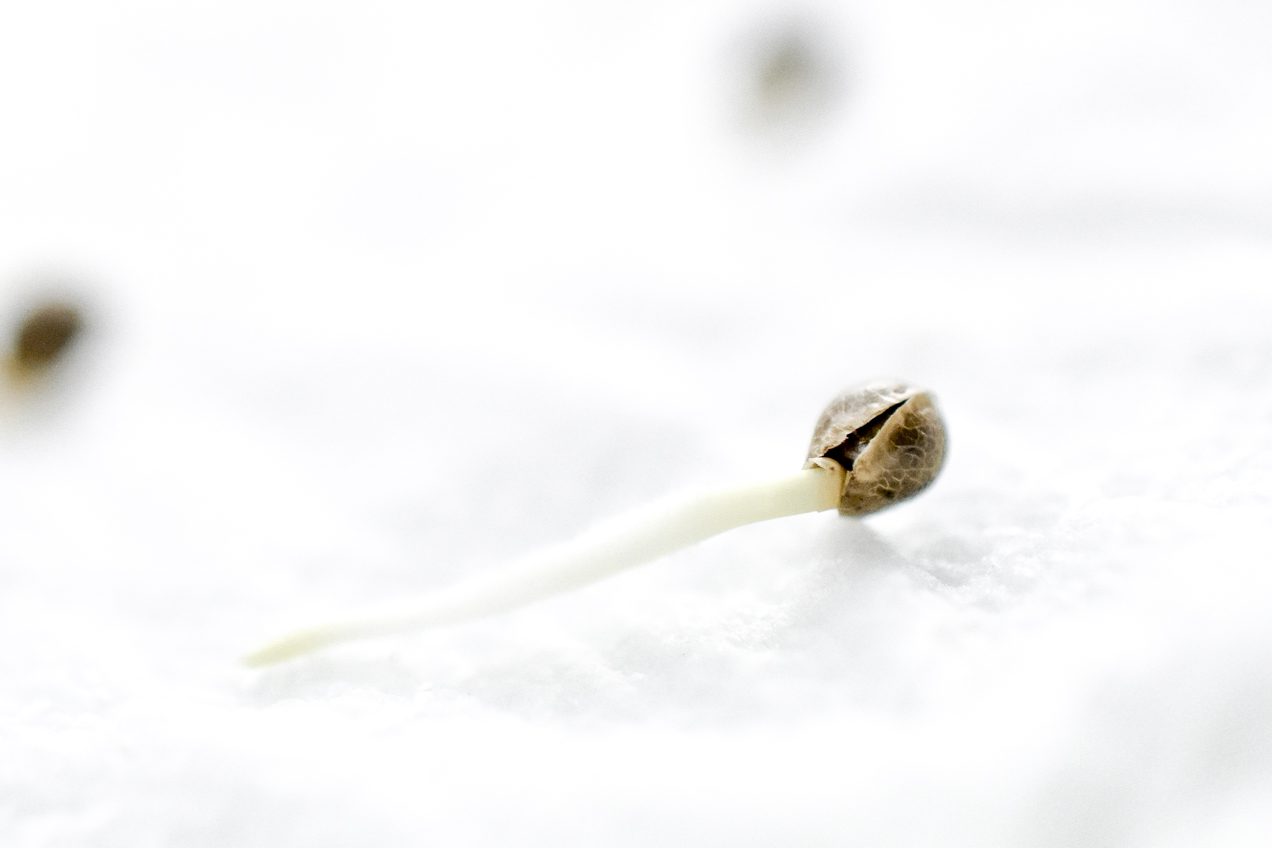
Once you have your seeds in hand, there are a few methods for germinating your marijuana seeds. To germinate your seeds, you’ll need water, heat, and air. Most people accomplish this by using a few paper towels, distilled water, and a covered container of some kind. Soak the paper towels in distilled water and wring out any excess, so the towel are wet, but not dripping. Place a few of the moistened towels into the container and place the seeds on top- about an inch apart. Cover the seeds with the remaining soaked towels and put a lid or cover onto the container. Keep the seeds in a warm space and mist occasionally with more distilled water to ensure the towels stay moist.
Once your seeds split, and a sprout appears, it’s time to move your seeds into a seedling pot. New sprouts are pretty susceptible to disease, so it’s important to use sterile technique whenever possible. Move the seeds with clean hands, into a 2 inch pot. You can use plastic or biodegradable starter pots- both of which are available at most nurseries or garden supply stores. Add loose and soft soil to the pots until they are filled to about a half inch below the rim.
Using a pencil or a chopstick, press a ¼ inch hole into the soil. Use tweezers to pick up your weedling and place it, root down, into the soil. Lightly move the top soil into the hole so it covers the root and the sprout stands upright. Mist with. Spray bottle to water your sprout so as not to disturb or compact the soil. You’ll want to keep the potting mix damp, but not saturated with water. Sprouts should be kept in a warm, well lit area. Don’t let them dry out, and don’t expose them to direct sunlight.
Feeding and Watering
In the early stages of their life cycle, marijuana seeds and seedlings need a non-fertilized soil mix. This can easily be achieved by using a 1:1 of coco coir and a peat based potting soil. Toss in a healthy dose of vermiculite and perlite to keep the soil moist and provide good drainage.
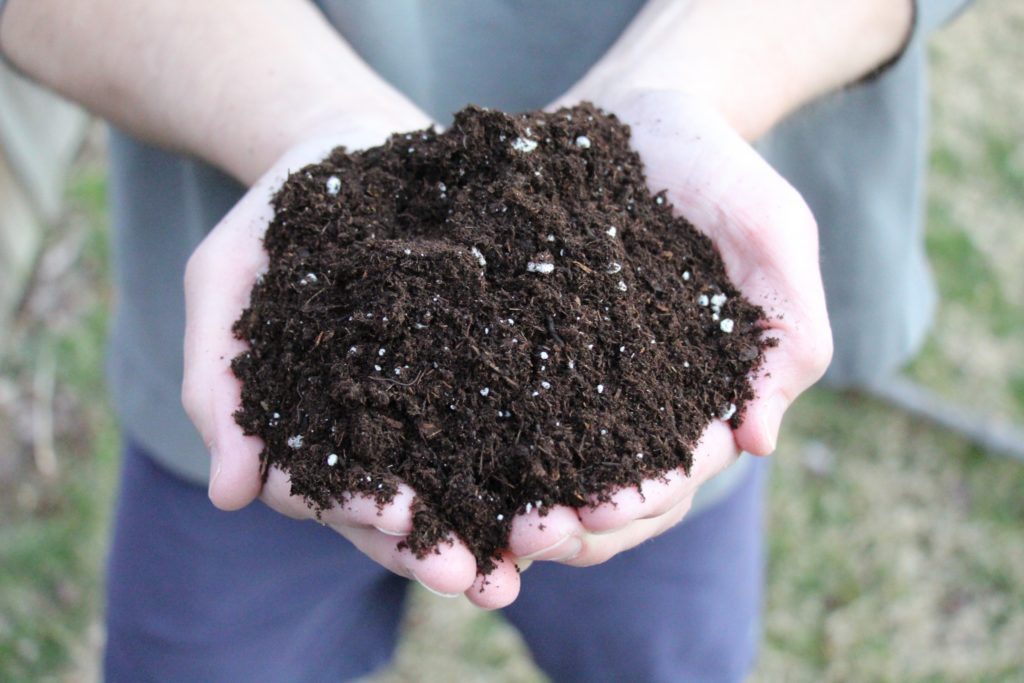
As your plant ages and grows you’ll want to steadily move them into larger pots until they reach their vegetative stage and final pot size. As you move your plants to new pots, change and upgrade your soil conditions accordingly. Older plants are happy to have more nutrient rich soils, but will probably still require some sort of liquid fertilizer of plant feed. The plant feed is largely strain specific- so find out what your plants will need before you buy your seeds.
Adult soils should still contain a healthy amount of coco coir and perlite/vermiculite, but can also benefit from additives like compost, bat guano and other animal fertilizers, worm castings, fish meal, and wood ash- among others. You’ll want to try to keep the pH of your soil neutral, so make sure that you water with a neutral source. There are kits you can buy that will not only give you the tools you need to monitor your waters pH, but also adjust it if needed.
Generally, plant pot size will be heavily dependant on full grown plant size. The bigger your plant, the bigger the pot. As a general rule of thumb, 1.5 – 3 gallon pots can handle most indoor strains. They offer adequate room for root growth which in turn allows for bigger, happier, plants. 5 gallon pots can also be used, but are sometimes a bit cumbersome and take up a ton of space. Whatever size pot you use, make sure you don’t move your seedling into its final pot too early and make sure that the soils stays moist, light, and airy.
Fans and Light Cycles
All pot plants will require some sort of fresh air and lighting set up. Fresh air setups are pretty standard amongst all cannabis cultivation operations, while light setups will depend heavily on what type of seed (autoflowering vs. photoperiod) you’re using.
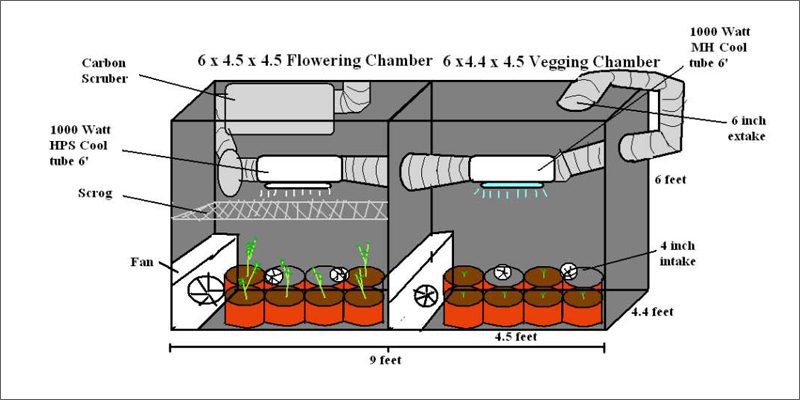
Fan setups essentially consist of two levels of fans. An upper fan (exhaust- to pull air out of the growing area) and a lower fan (intake- to pull in fresh air and strengthen stems). Depending on how big your grow space is, you may need more than just one set. It’s important that grow setups have continual fresh air flow for a few reasons: It keeps the plants from getting too hot, provides them with the necessary CO2, regulates humidity, and put light stress on stalks to promote strength. Fans will need to be positioned far enough away from the plants that they only provide a light breeze.
They also need to be fitted into your grow space so that air that is not actively being pulled in or pumped out can’t get in. Many home growers achieve this by using a grow tent.
All marijuana cultivation setups will require lighting. The best (and consequently most expensive, sigh) are LED lights. They emit a broad spectrum and let off very little heat. They also pump out at least 400W. Any light you choose will need to produce at least 400W. Some other choices of lights include fluorescent tubes or CFL, and sodium or metal halide bulbs. Halide bulbs work great, but are expensive to run and produce a MASS amount of heat, so in order to effectively use them, you’ll have to have your fan setup on point. Fluorescents aren’t super effective during the flowering stage because they don’t really produce the type of light that flowering plants need.
Vegetative and Flowering
Once you’re seedlings have grown and are starting to produce adequate root balls, move them to the final pot. To begin the vegetative stage, most growers use an 18:6 light schedule. 18 hours of light, with 6 hours of darkness. At this point, if you’re using liquid fertilizers, you’ll want a high nitrogen, medium phosphorus, and medium to low potassium blend.
Plants need to look “full grown” before you switch them to the flowering stage. Autoflowering plants will do this on their own, so even though you’ll still switch up feeding and lighting schedules, you’ll do it once you notice signs of flowering, as opposed to when you think the plant is big enough.
Gradually change your light cycle to a 12:12. Once you do, you will begin to notice flowers! Keep humidity around 45% and cut down your fertilizing additions. While the plants will still need a bit of food during this period, they will require much less than that of a vegetative stage. Support any heavy buds with bamboo sticks or wood to ensure that they stay upright and soak in all of the light they can.
As plants reach their final flowering stage (yeay! Harvest!) they should begin to turn yellow. Flush the soil with plain water and then enjoy! You’ve made it and you can now clip, dry, and enjoy!