
This comprehensive article serves as a beginner’s guide to cultivating your own cannabis plants, from the selection of seeds to harvesting and curing the buds. The guide breaks down the stages of cannabis growth, shedding light on the conditions required for the plants to thrive, as well as methods for indoor and outdoor cultivation.
Special emphasis is given to the art of germination, indoor growing techniques, the importance of light, air, and nutrients, and the process of drying and curing your harvest. Whether you’re a novice or a seasoned grower, this step-by-step guide offers valuable insights into the exciting world of cannabis cultivation.
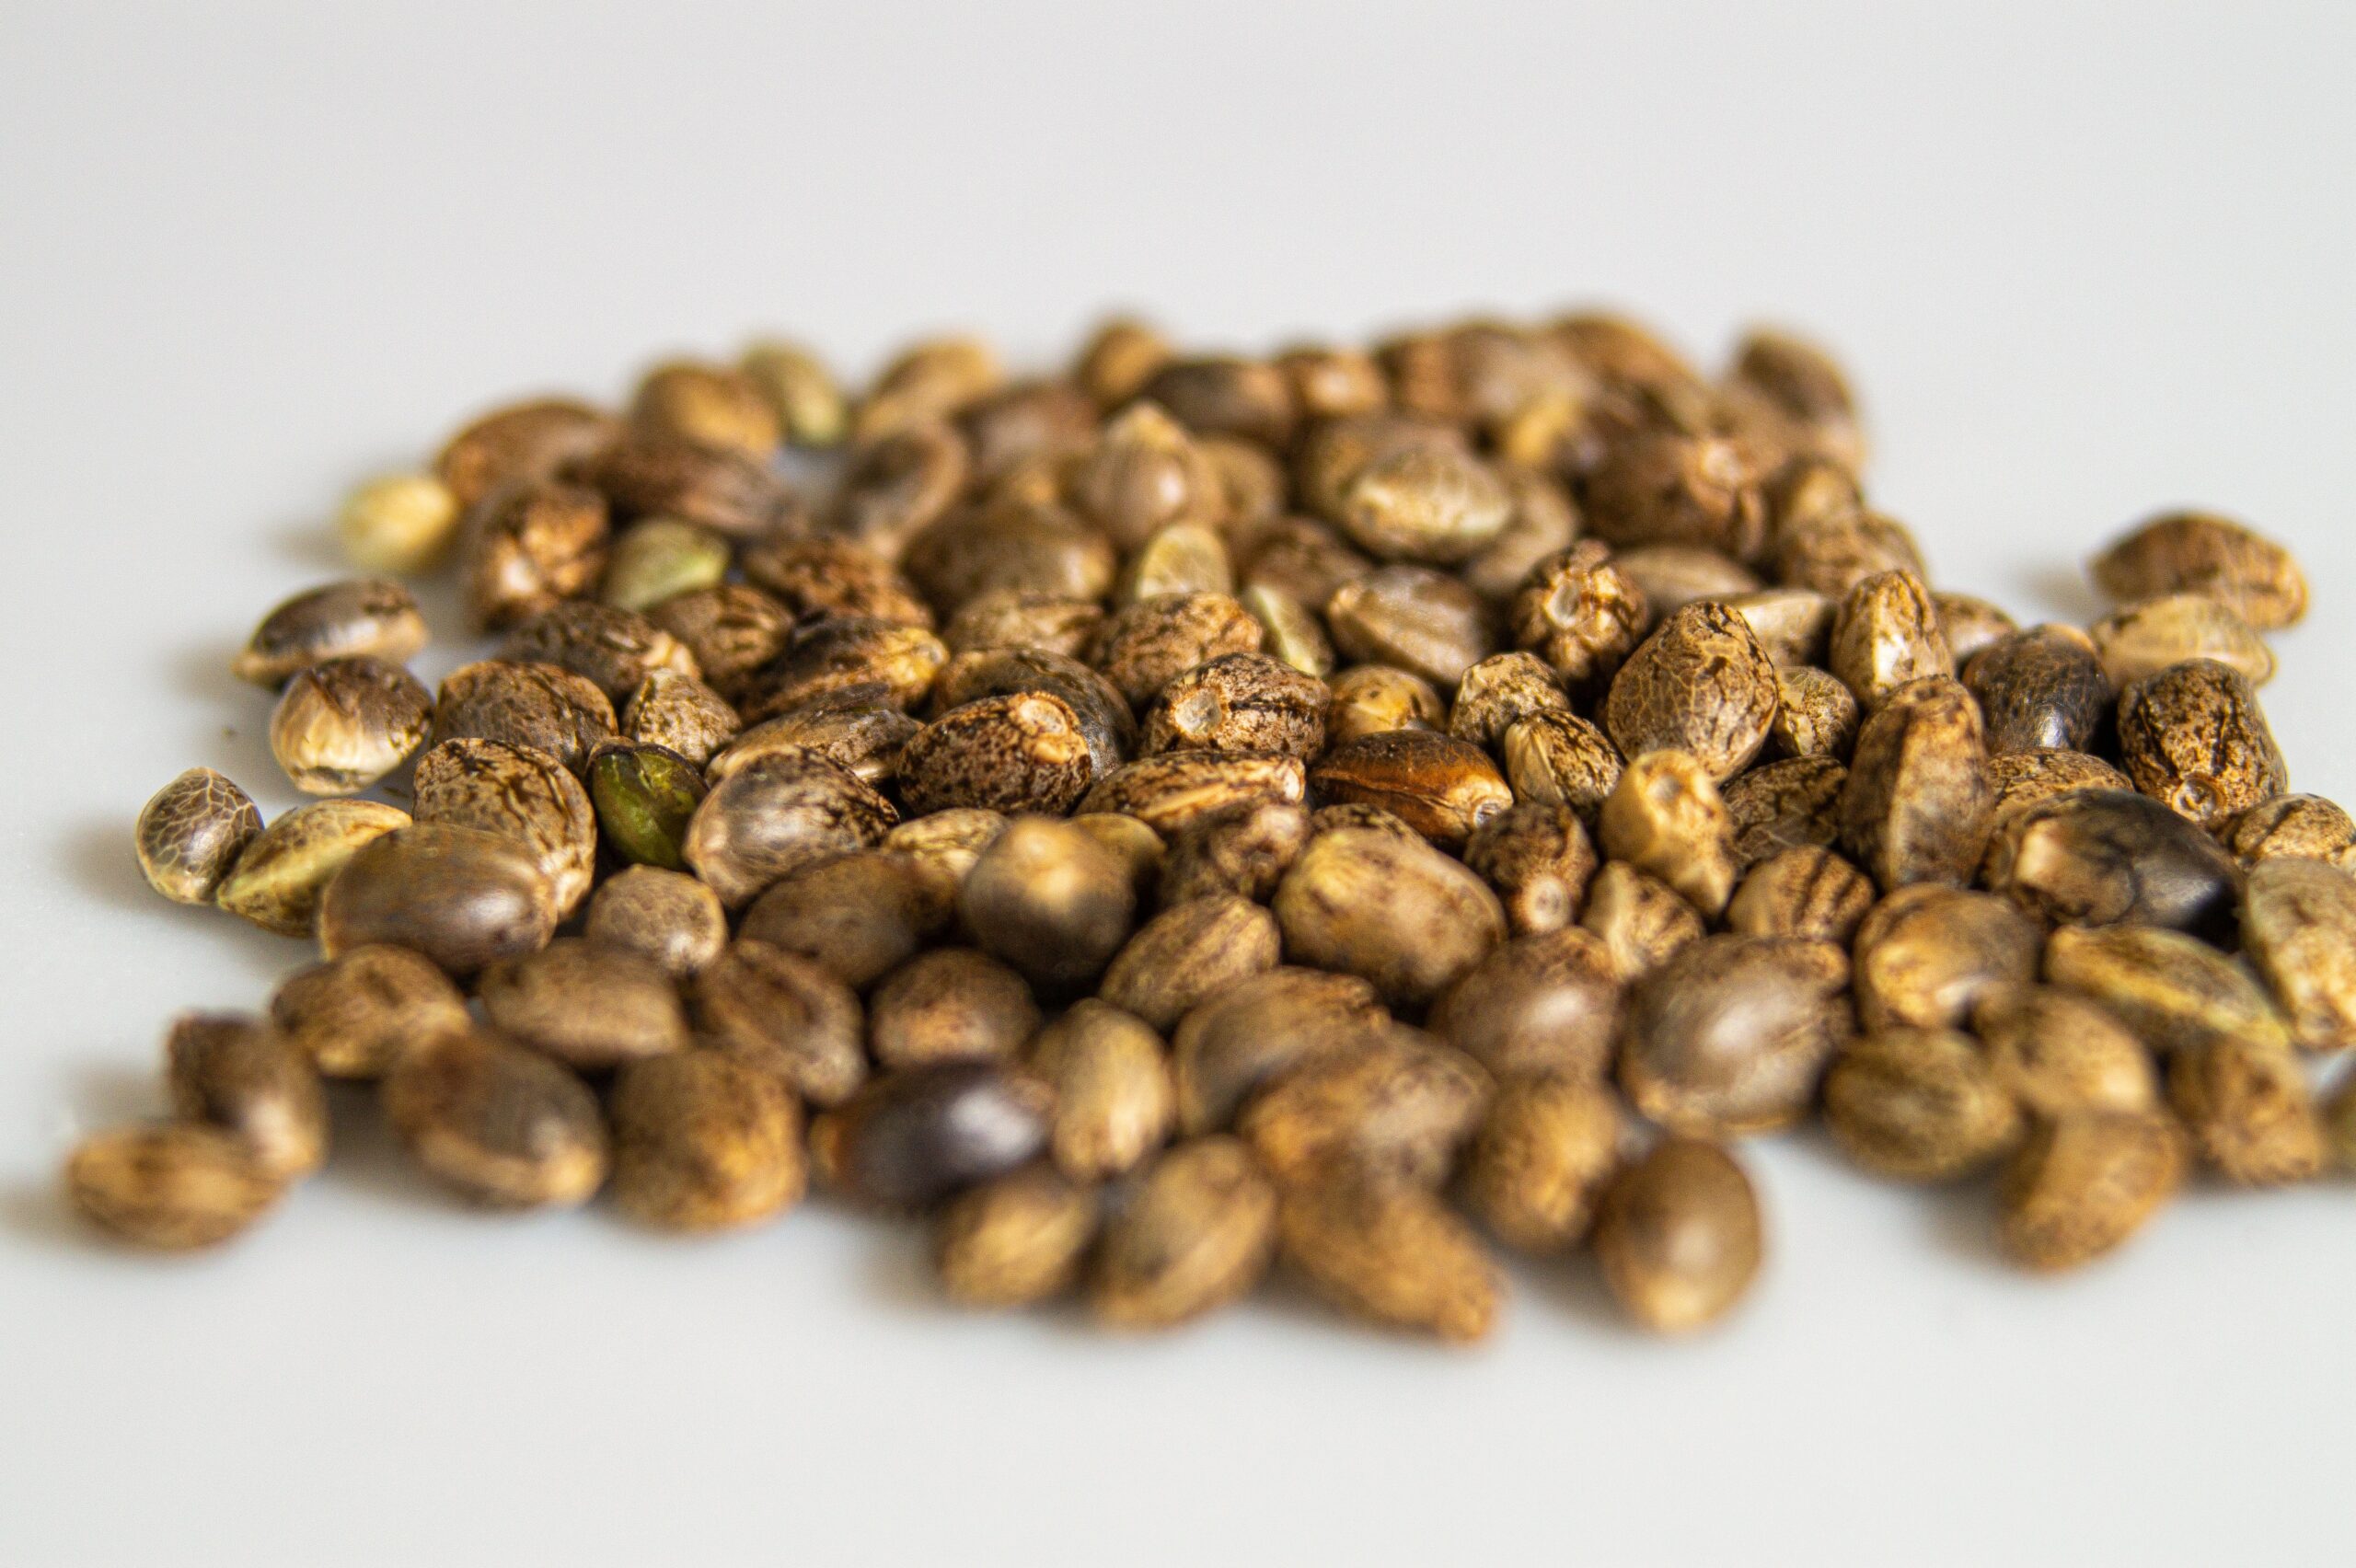
Step 1: Selecting Your Cannabis Seeds
With a plethora of options like sativa, indica, ruderalis, and hybrids, picking your cannabis seeds is a thrilling task. Reflect on your past favorites and effective remedies – they’re your ideal starting point. Next, consider your growing space. Small, fast-maturing plants like autoflowering strains or indicas are perfect for compact areas.
For more detailed guidance on selecting and growing your seeds, check out our Top Tips for Growing Feminized Cannabis Seeds and our comprehensive Autoflowering Grow Guide: How To Grow Autoflower Cannabis Seeds. These resources will provide you with in-depth information and step-by-step instructions to ensure a successful and bountiful harvest.
Got a large backyard? Go for the big guys that can thrive in soil or large pots. Let’s get growing!
Step 2: The ABCs of Growing
For those juicy buds you love, cannabis needs a few essentials.
Light: Cannabis craves over 18 hours of light daily for healthy growth. Indoors, you control this with timers. Outdoors, delay germination until there’s more than 12 hours of daylight and at least 8 hours of direct sunlight.
Medium: Organic growers love soil, indoors or out. But neutral, nutrient-dependent mediums like coconut coir, perlite, vermiculite, or rock wool are also options. Aeroponics, hydroponics, or deep water culture skip mediums altogether, feeding nutrients directly to the roots.
Air: Fresh moving air is key for strength and gas exchange. Outdoors, nature handles this. Indoors, you’ll need fresh air intake, stale air exhaust, and a fan for circulation. Stagnant air invites pests and mold, and stunts growth.
Water: Cannabis, like all life, needs water. Outdoors, regular rainfall might be enough. Indoors, water carries nutrients. Regular flushing with unmodified water is crucial, especially for hydroponic and soilless systems. Keep an eye on your water’s pH level.
Temperature: Cannabis is hardy but doesn’t like extremes. Aim for around 27 degrees centigrade for vigorous growth. Indoors, fans, AC units, and heating/cooling mats can help. Outdoors, know your climate and time of planting well.
Nutrients: Good soil rich in compost, organisms, vitamins, and minerals can feed your plants for their whole life cycle. Compost tea, molasses, or feather meals can boost soil quality. For hydroponics or neutral mediums, pre-formulated nutrient blends are your go-to.
Humidity: Outdoors, you’re at the mercy of your climate. Indoors, humidity control is crucial from seed to flower. Balanced humidity wards off pests and mold.
Whether in a cupboard, grow tent, or outdoors, your cannabis needs these essentials to thrive and reward you with high-quality, resin-soaked nuggets.
Step 3: Illuminating Indoor Cannabis Growing

Cannabis Lighting
The legalization wave has sparked a boom in lighting and grow chamber options for indoor cannabis cultivation. Your budget is your guide.
Grow Cupboards: These fully customized, plug-and-play units are designed specifically for cannabis. Equipped with lights, fans, separate chambers for cloning, vegging, and flowering, timers, and carbon filters, they’re ready to go—if you’ve got the cash to splash.
Budget-Friendly Lights: On the other end, a basic yet efficient CFL (Compact Fluorescent Light) or small LED (Light Emitting Diode) panel can set you back less than $300. Perfect for growing quality buds in a spare cupboard. Other compact fluorescents like T5 battens offer a range of spectrums for vegging and flowering and fit snugly in small spaces.
Traditional Grow Lights: HPS (High-Pressure Sodium) and MH (Metal Halide) lamps are old-school grow lights. A 1000W HPS with reflectors can effectively light a 1.5 x 1.5-meter space, promoting excellent growth. A 600W MH lamp can do the same, leading to top-notch flowers. But beware, these lights generate heat that needs to be efficiently vented, or your grow space can become a cannabis sauna. Let’s light it up!
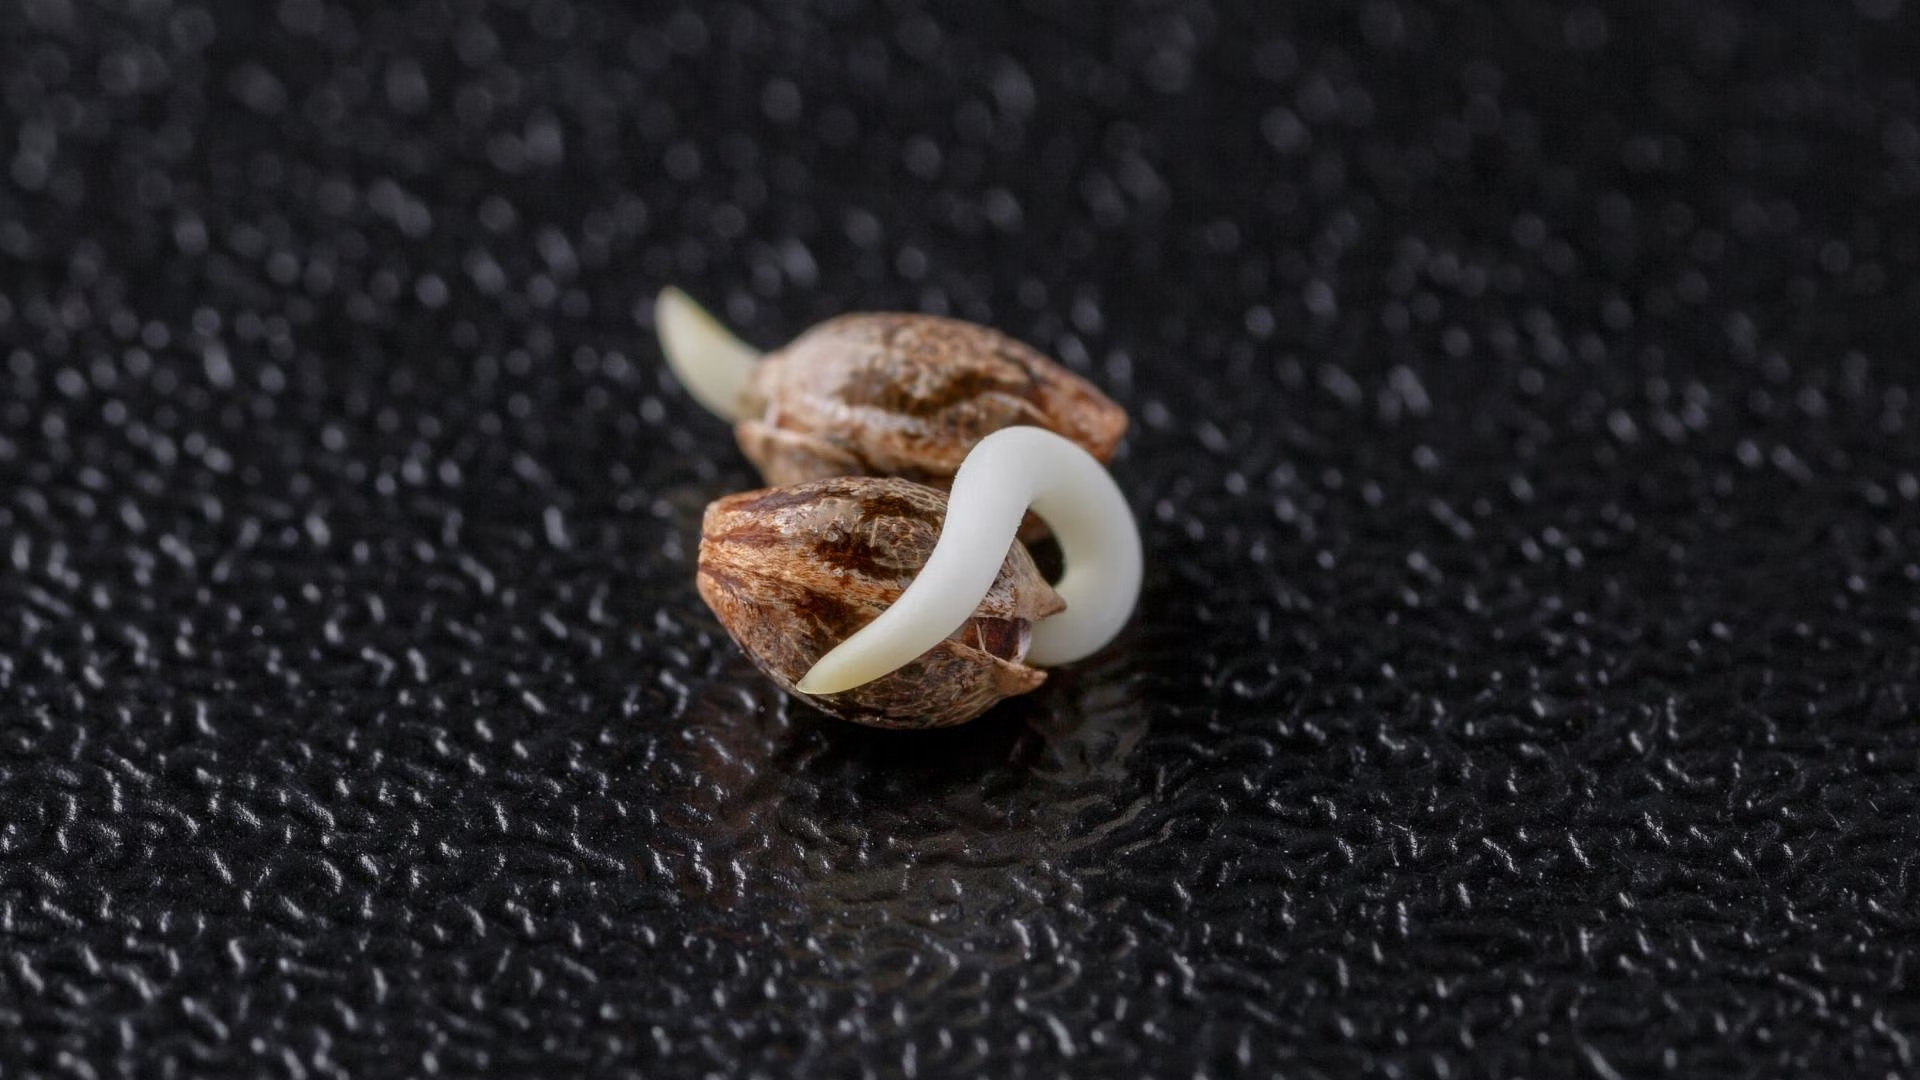
Step 4: Germination and Baby Buds
Cannabis Seedlings
The journey of your cannabis cultivation starts with germinating your seeds. Each seed holds the blueprint for the strain you’ve chosen. All they need is water, warmth, and a good location to kickstart their life cycle.
Growing cannabis is more art than science, with multiple effective germination methods. Over time, you’ll find your groove.
- Direct Planting: Plant seeds directly into your medium to avoid transplant shock. Often, it’s easier to germinate in a small pot and then transfer to the garden or larger pots.
- Paper Towel: Place seeds on a moist paper towel in a warm, dark place. Cover with plastic or another plate to retain moisture. In a few days to a week, you’ll see sprouts.
- Plugs, Jiffies, and Rock Wool Starters: These allow for mass germination in a small space. Once established, seedlings can be moved to their final position without root damage.
- Water Soaking: Soak seeds in enzyme-enriched water until the tap root appears, then plant in your medium. The seedling will break the surface about a week later.
- Germination Stations: These provide control over the germination environment, offering humidity, temperature control, and faster germination times.
Once your plants break the surface and the first set of true leaves appear, photosynthesis begins. Now, you have a bona fide marijuana seedling on its way to becoming a resin-rich indoor plant or a towering outdoor tree.
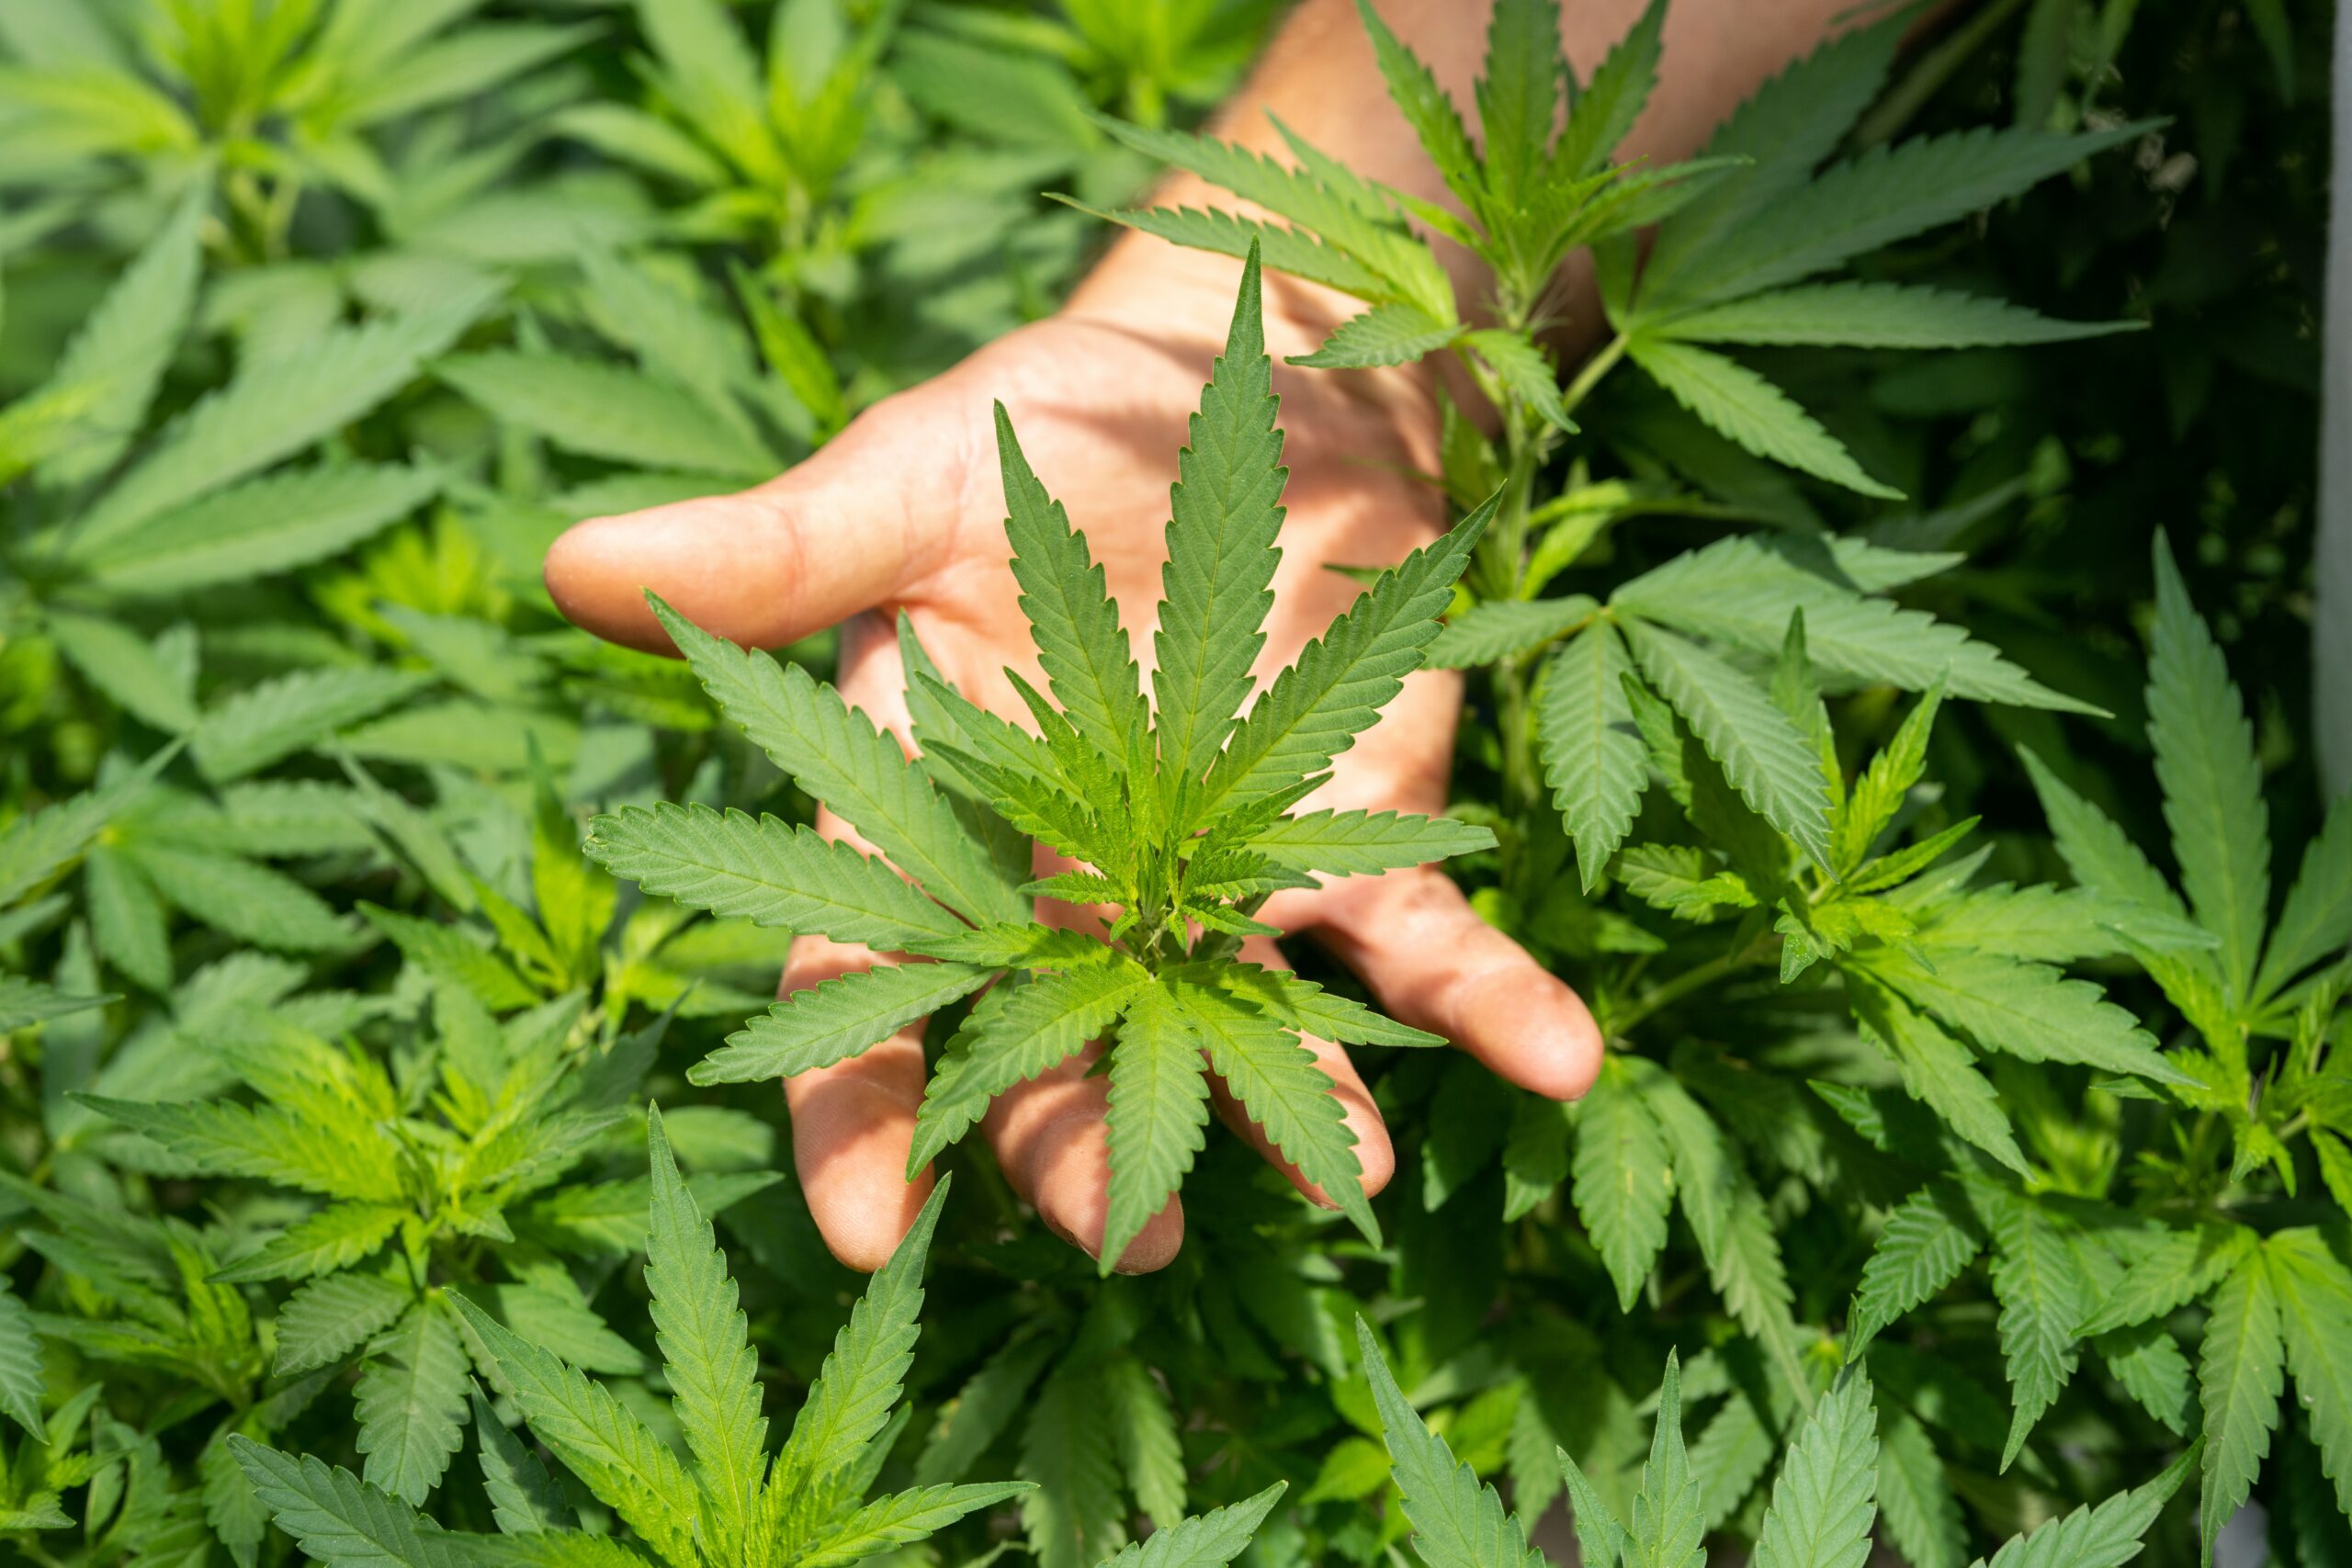
Step 5: The Green Growth – Vegetative Phase
Vegetative Cannabis Growth
When green leaves meet light, photosynthesis kicks in and the vegetative phase begins.
Indoors: Set lights to an 18-hour day, 6-hour night regimen. This doesn’t need to match actual daylight hours—schedule it to suit you. Running electrical equipment during off-peak periods can save money. Your plants thrive in organic soil or with nutrients designed for this phase. Fan-forced breezes control temperature and strengthen plants. Techniques like adding carbon dioxide, low-stress training, and scrogging can boost growth rate and flower potential.
Outdoors: Cannabis grows quickly as daylight hours increase in spring and summer. Unlimited root space and good genetics can result in a plant growing three to four meters during this phase. Most modern plants are topped and under-shucked throughout this phase to encourage an even canopy that will fill with uniformly sized buds during bloom. Cannabis continues to vegetate while there’s more than twelve hours of daylight. The further from the equator, the shorter the vegetation time before flowering.
Vegetation Phase Duration?
The vegetative phase can last as long as you want. Whether you prefer lots of small plants filling your space (Sea Of Green method), or a few larger plants topped and mainlined for large flower clusters, the choice is yours. Let’s keep growing!
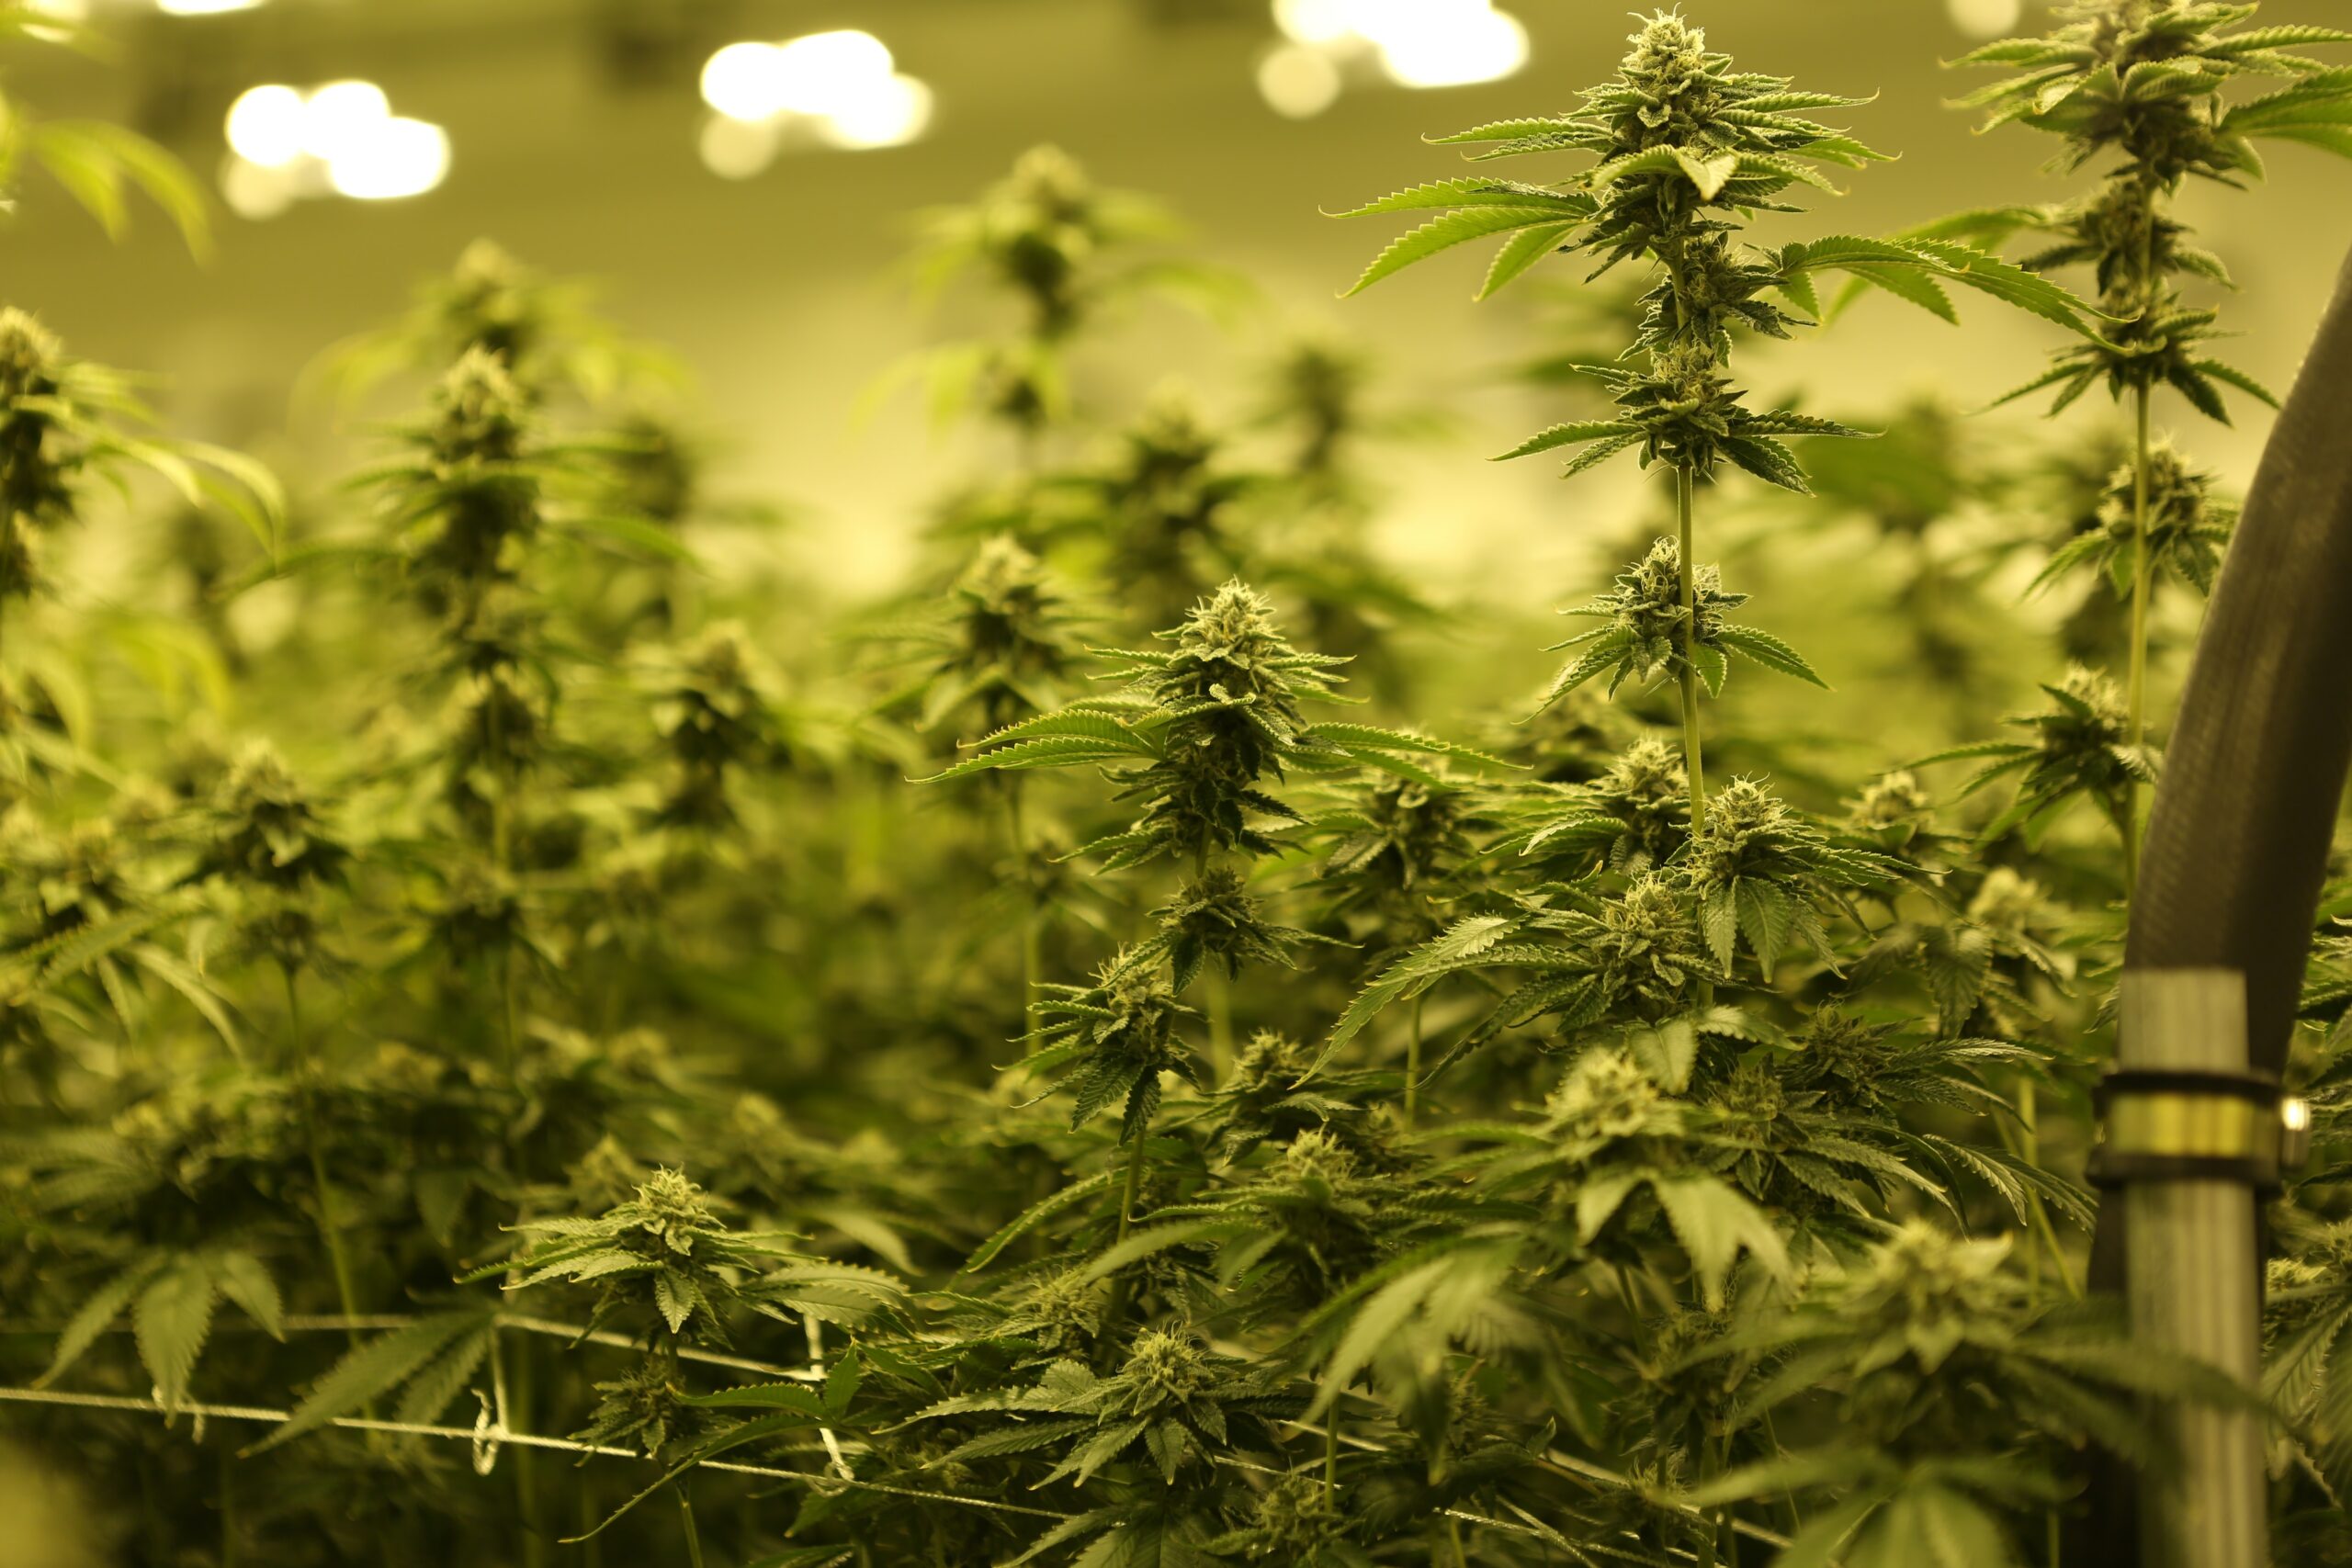
Step 6: The Blossoming Stage – Blooming Cannabis
Blooming Cannabis Growth
Blooming, flowering, and budding all denote the same exciting phase of the cannabis plant’s life cycle. As aromas develop and unique floral arrangements emerge, the blooming phase unfolds in distinctive stages, starting when vegetation ends.
Outdoors, flowering begins as summer heat wanes and autumn approaches. Indoors, you trigger flowering by adjusting the lighting to a 12-hour day, 12-hour night schedule.
Cannabis plants respond to hormonal changes that either continue vegetation or initiate blooming. There are typically two types: APD and autoflowering:
APD (Absolute Photo Determinate) plants rely on a light-sensitive hormone to keep vegetating. This hormone, inactive in low light levels, prevents flowering. Twelve or more hours of darkness will induce flowering.
Autoflowering strains depend on age for this hormone. When the plant reaches a certain age, it stops producing the hormone, and flowering begins regardless of light exposure. This can be as soon as two weeks after germination.
Blooming Stages
Differentiation: At the start of flowering, growth patterns change. Branch growth begins to zig-zag and compress, with less distance between nodes.
Blooming: Flowering follows the same stages in all species, but for different lengths of time. A quick indica will be ready for use weeks before a long-maturing sativa.
Soon after differentiation, proper flowers form. Calyxes emerge at branch internodes, quickly forming pistil-covered puffballs. Resins start forming in young trichomes on the pistils, calyxes, and leaf surfaces.
The puffballs stretch along their own spike, making room for new fluorescent clusters and bud specific leaves. These new leaves are thicker, smaller, often heavily crinkled, and covered in trichomes.
Over the weeks, these flower clusters multiply and form large, resin-covered colas. As they mature, the calyxes and trichomes swell with desirable resins. Full maturity is just around the corner. Let’s keep blooming!
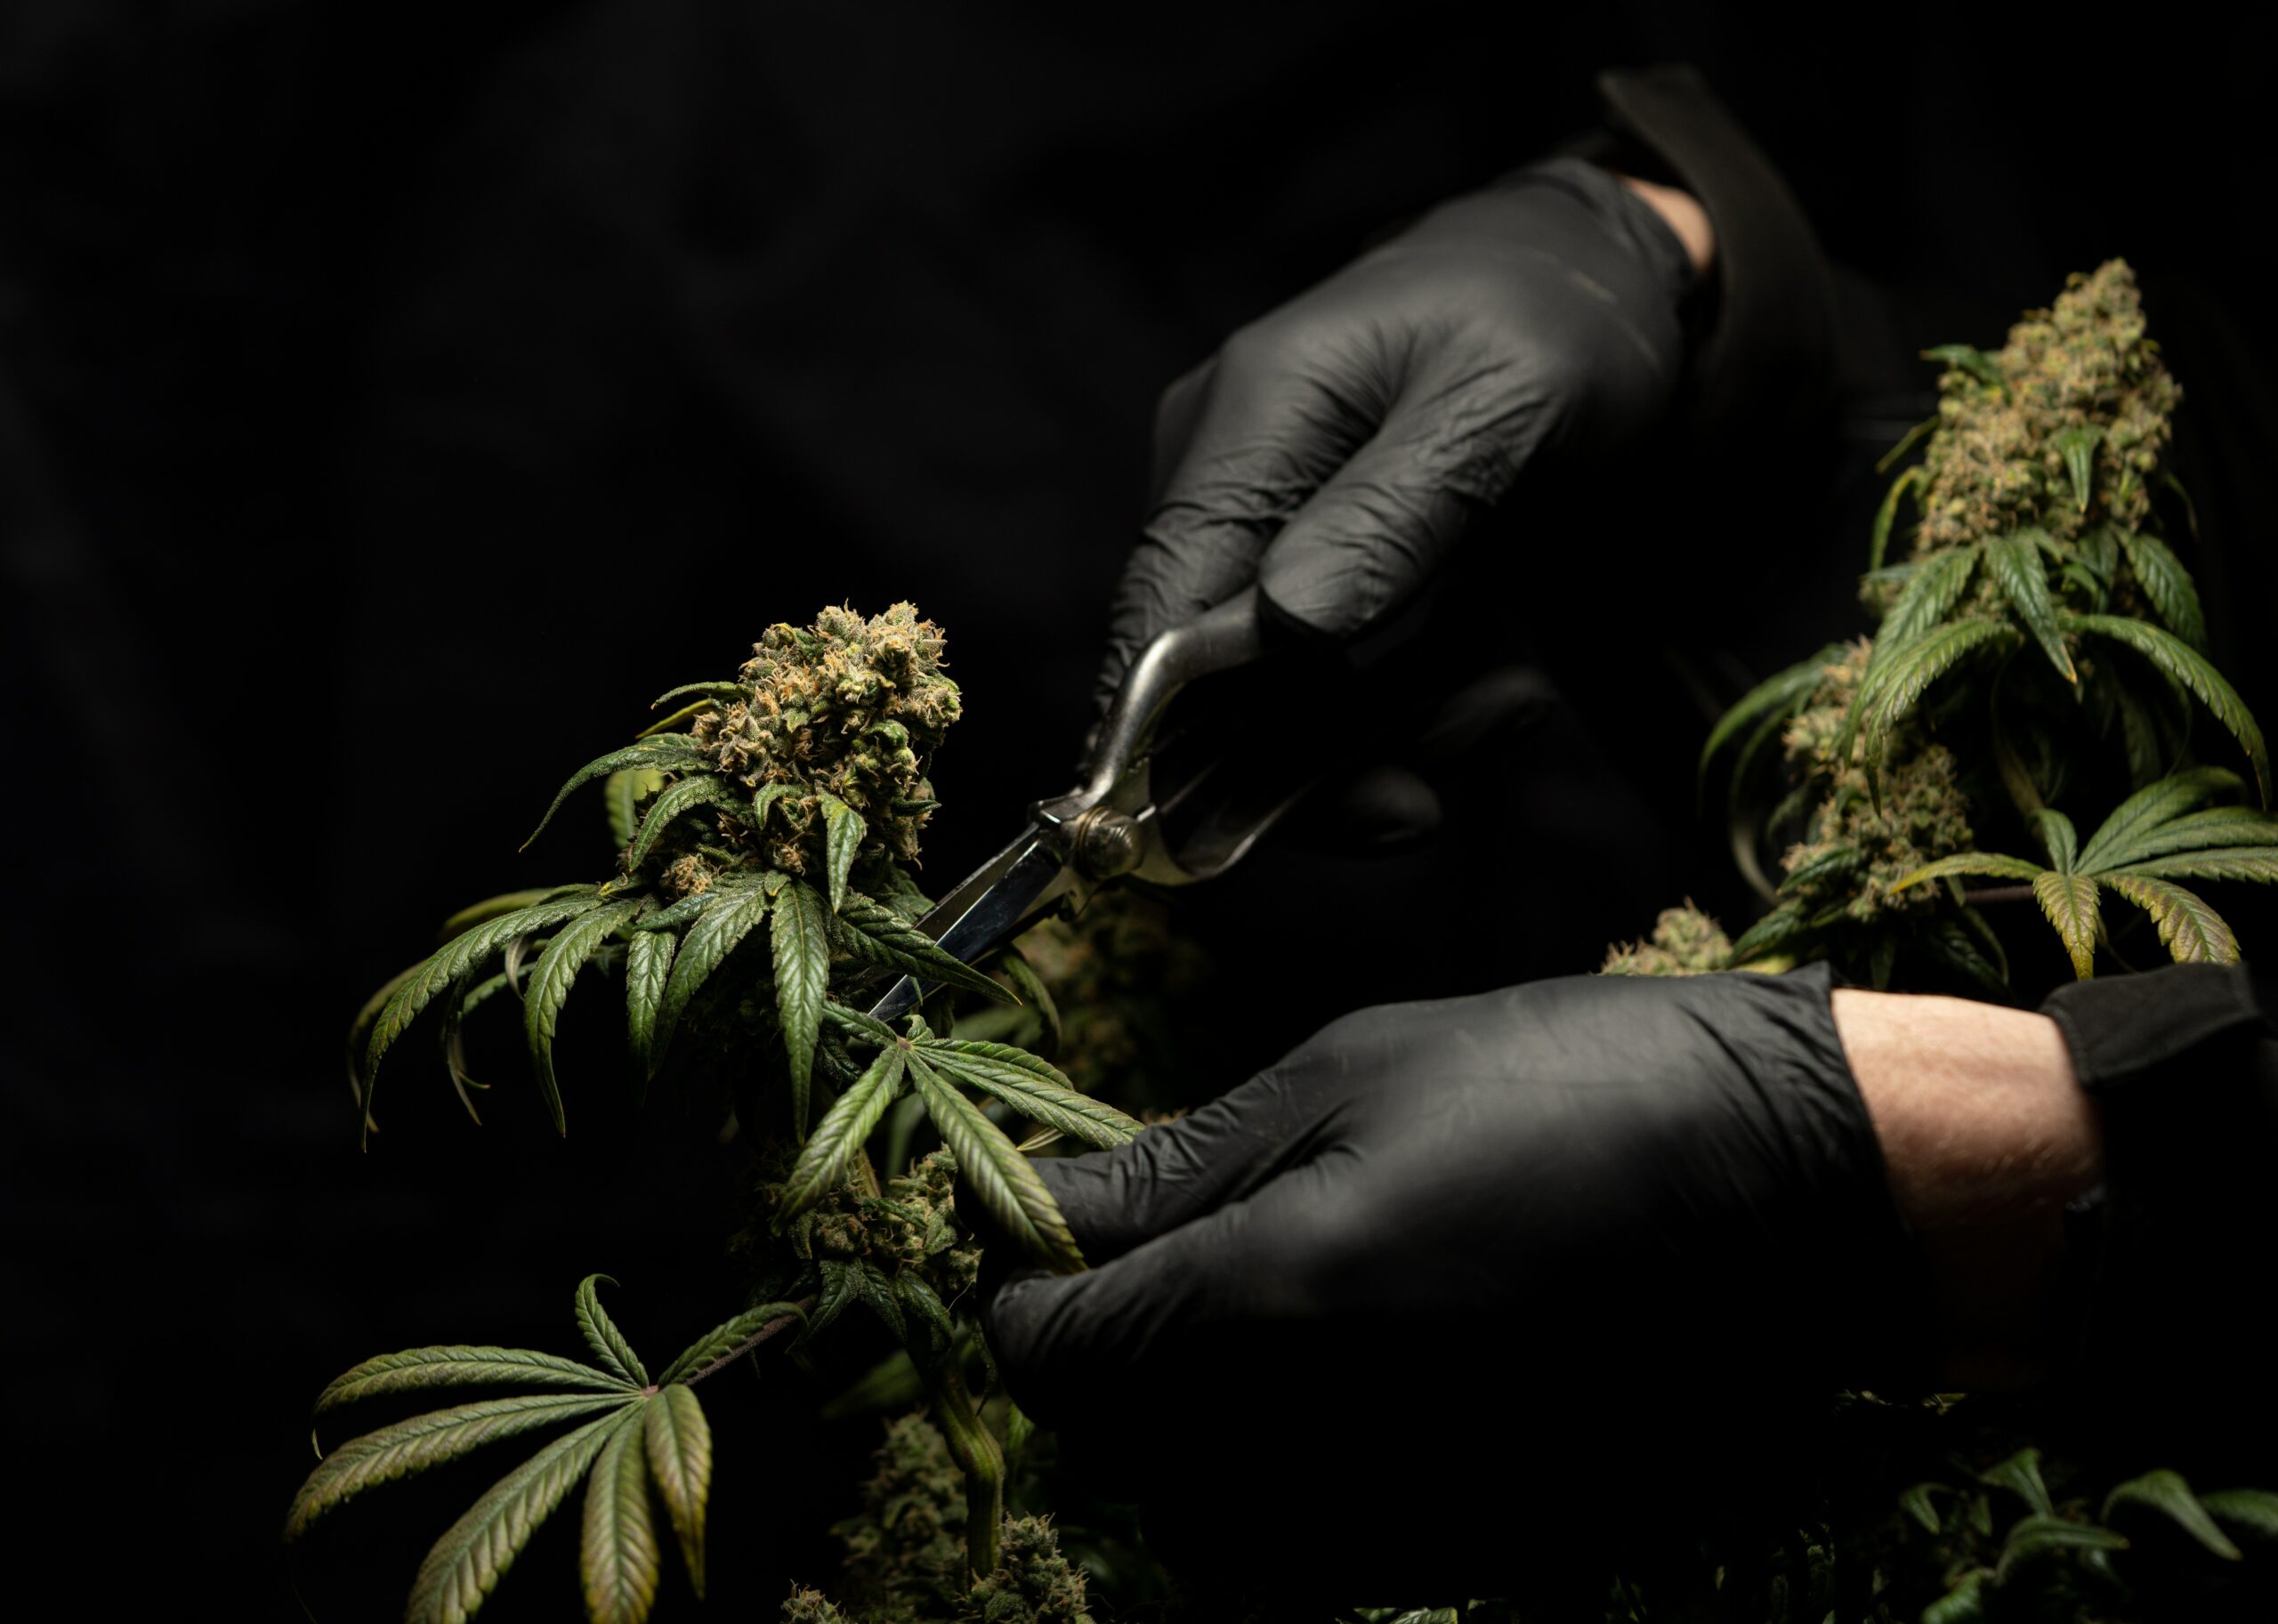
Step 7: From Harvest to High – The Art of Curing Cannabis
In the final weeks of your green journey, flush your plants with clean water. This ensures your buds will have a pure, clean flavor, free from any nutrient or salt aftertastes.
When is My Cannabis Ready for the Spotlight?
When your plant is decked out in trichomes and the pistils are changing their wardrobe, it’s showtime! Trichomes will go from clear to milky, then from milky to amber. For a high THC kick, harvest when trichomes are 20-30% amber. If you’re after a broader cannabinoid profile, wait until they’re 60-80% amber. Keep a keen eye on them, as the difference can be as short as 24 hours.
Harvesting the Star of the Show
There’s no set script for harvesting. Some prefer to trim the leaves while the plant is still standing, then break it down further, hanging branches to dry or laying individual buds on a drying rack. Others remove only the large sugar leaves, then harvest and hang the whole plant. The golden rule? Handle with care to keep those precious trichomes intact.
Drying and Curing – The Encore
Dry your buds in a cool, dark, low-humidity backstage. This should take a minimum of two weeks. Regularly check for over-drying or unwanted mold guests. When dry, thin branches will snap like a crisp applause, while thick ones will still have a slight bend.
Storing Your Star Performers
Pack your well-cured buds loosely in a well-sealed glass jar, like precious autographs. “Burp” the jar daily for the first two weeks to let out any built-up humidity. Once the flowers are dry to the touch, you can reduce the burping to once a week. Don’t let your hard work go to waste due to lack of attention.
How Long Does the Curtain Call Last?
The curing can go on as long as you like. Psychotropic compounds become more psychoactive after dropping a water molecule, which takes at least six weeks under ideal conditions. The longer the cure, the smoother the final act. Keep your jars in a cool, dark place, as THC can break down into other cannabinoids when exposed to light.
If you’re unsure about the dryness of your buds, sample your wares as they dry. This will give you a future reference. Dry cannabis doesn’t feel completely dry due to the waxiness of the resins, but you’ll quickly develop a feel for it.
What should you opt for?
The world of cannabis seeds is vast and varied, with options like sativa, indica, ruderalis, and hybrids. Some might argue that sativa strains are superior due to their uplifting effects, while others might prefer indica strains for their relaxing properties. The right choice is subjective and depends on your personal preferences and needs.
For novices, we recommend starting with a strain that suits your growing space. If you’re limited in space, consider autoflowering strains or indicas, which are smaller and mature faster. If you have a large outdoor area, you can opt for larger plants that thrive in soil or big pots.

Ready to get some seeds? Look no further than Shayana Shop, a reputable retailer with a wide selection and competitive prices. Shayana has been in the business of offering premium cannabis seeds for over 20 years, so we highly recommend them as a trustworthy supplier. Simply select your favorite strain and seed type and you’ll be ready to grow in no time at all!
Growing your own cannabis isn’t a tough gig. A little attention and patience can yield a fragrant encore, even in the smallest of spaces. Here’s to happy growing, friends! 🙌
Note: Please check your local laws and regulations regarding the cultivation of cannabis at home. Some jurisdictions have strict rules and penalties for growing cannabis without proper authorization.